How To: Textured Waves
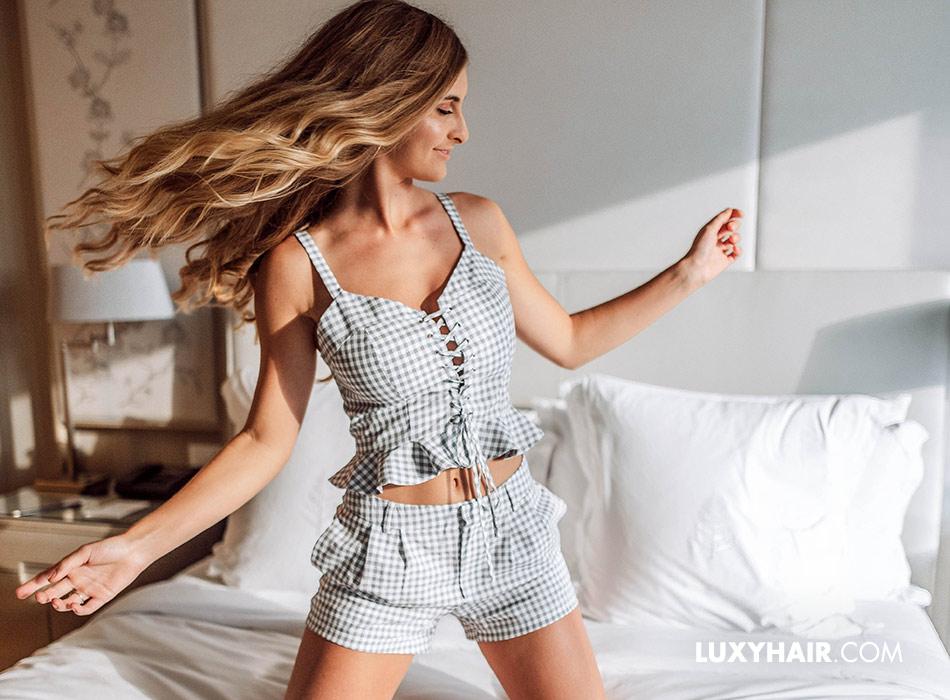
If you’ve scrolled through Instagram lately, you have likely noticed that long, messy, tousled waves have totally taken over the ‘gram. Whether it’s content creators, clothing companies, or even fitness inspo accounts, textured waves are making a comeback in a big way—and we’re on board.
This week, we’ve teamed up with our beautiful friend Josie, who shows us just how she creates her signature, textured waves. This hairstyle is perfect for a night out on the town, or whenever you need a hairstyle that’s the perfect mixture of sexy, glamorous, and cool. Check out the video below, or read on for step by step instructions to achieve this look.
Step 1. Start off by washing your hair, then blow dry it as normal. Josie’s hair texture is naturally straight, however, if your hair is wavy or curly, we recommend to check out this tutorial on how to blow dry your hair straight with a round brush to achieve a salon quality blow out.
Step 2. Brush out any tangles in your hair with a paddle brush.
Step 3. Now, it’s time to clip in your Luxy Hair extensions. While this look can definitely be created without hair extensions, this is the best way to get that extra volume that’s needed for these playful, textured waves.
Separate your hair at the nape of your neck just below your ears, and clip the rest of your hair out of the way. Then, take a 3-clip weft and a 2-clip weft. Lay the 2-clip weft on top of the 3-clip weft and clip it onto the hair, to create a stacked weft. This will create a single weft with mega volume for the bottom of your hair. Clip this mega weft into your hair.
Step 4. Now, take both your 4-clip wefts and stack the smaller weft on top of the larger weft creating another mega weft. Separate another section of hair above your ears and clip the rest of your hair out of the way, then clip the mega weft onto your hair.
Step 5. Separate your hair one one side at your temple and add a 2 clip weft for volume in front of your face.
Step 6. Separate your hair on the other side of your face at the temple and clip in the remaining 3-clip weft.
At this point, you should have a 2-clip weft and four 1-clip wefts remaining. While Josie’s hair does not need any additional wefts, you can add these wefts the rest of your hair as you see fit, to blend the extensions in seamlessly. Click here for another method to clipping your full set of Luxy Hair extensions in.
Step 7. Give your hair a quick brush and apply heat protectant spray.
Step 8. Let’s get texturized! The key to creating textured waves is to keep your curls looking just messy enough. Avoid creating curls that are too perfect, as this will defeat the look.
In order to create these textured waves, we recommend to use a curling wand with a 1 inch barrel size, as this will give the curls that defined, piecey look. If you were to use a larger barrel curling wand, the curls would end up looking too big and bouncy.
Start by wrapping small sections of hair around the curling wand, leaving an inch or two of the end out. Once you release the hair from the wand, scrunch the curl in your hair to give it a more defined look while it cools down.
If you want an even messier look, you can curl some pieces by wrapping them in the opposite direction than the rest of the hair.
Step 9. When curling pieces at the top of your head, wrap the section around the curling wand, then slowly slide the hair up and down the wand. This will ensure that the curl isn’t too defined at the root.
Step 10. Once you’ve curled all your hair, go ahead and spray some hair spray, sea salt spray, or texturizing spray to give the hair that extra grit and texture. Scrunch and tease the hair with your hands to get the curls all tousled and messy.
And that’s it! Super cool, textured waves in just a few minutes. Oh, and if you have short hair, this look can actually be achieve with just a hair straightener. Click hereto learn how to create textured waves in a lob.
POSTED BY Azra Kassam on Luxy Hair
Video from Luxy Hair

